Website
Tutorials for how to use our wordpress site
- How To
- Basics of Editing A Page
- Divi Overlays
- Edit Norton RSVP Overlay
- How to Add Groups to Group Page
- Editing the Menu
- Featured Events
- Add an Anchor Point to a Page
- How to Disable Comments
- Fix CSS Loading Issue (Page looks Scrambled)
- Wordpress is logging you out repeatedly
- Purchased Plugins
How To
Basics of Editing A Page
To edit a page:
- Login to wordpress by going to your campus site login page. example : neatlanta.gracechurches.org/wp-admin/ or barberton.gracechurches.org/wp-admin/
- You will need to be part of the Webmaster Distribution List in order to receive the Authentication code via email.
- Once logged in you'll see the admin bar at the top. Navigate to the page you want to edit and then click 'Enable Visual Builder'

- From there you can click on text to edit

To save changes:
- Click the purple circle with the ellipsis

- Then click the green save button to the bottom right to save your changes


To edit text on a page
- Click directly on the text and you should see the text cursor ( the | symbol that shows where you're typing) and you can begin editing.
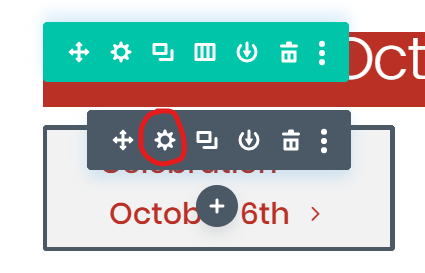
note: if you're not able to click to edit the text, it may be part of a module. See example below on how to edit a button for instance.
To edit a button
- Click on the button to reveal the module settings and click the gear icon to open the settings

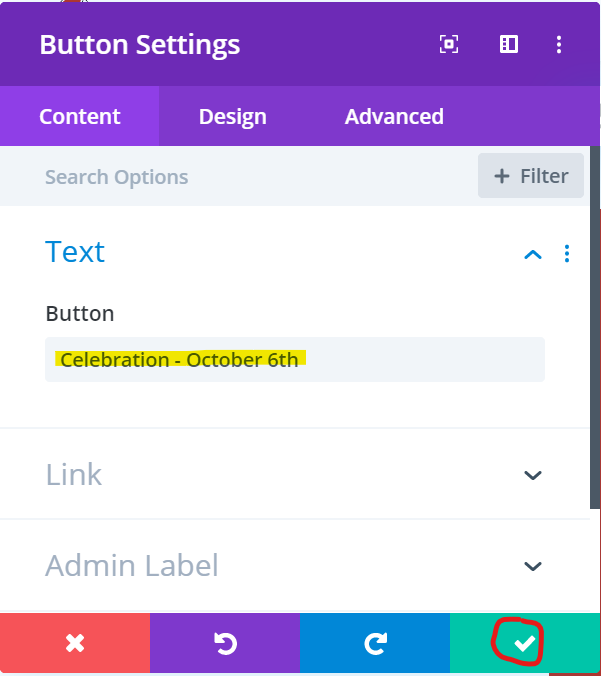
- This will open the Button Settings and you can edit the button text as seen highlighted below

- After you're done, confirm your changes by clicking the green check box as seen circled above.
- Don't forget to save your page as described above in 'To Save Changes'
Divi Overlays
Sometimes having a pop up could be beneficial when you don't want to send someone away from the website. That's where an overlay can come in. you can essentially have a whole page or a small box show up. Here is an example
![pop-modal-windows-with-divi[1].gif](https://kb.gracechurches.org/uploads/images/gallery/2020-03/pop-modal-windows-with-divi%5B1%5D.gif)
Here is the documentation how to use them:
https://divilife.com/knowledge-base/divi-overlays-documentation/
Edit Norton RSVP Overlay
- Go to the overlay page https://norton.gracechurches.org/divi_overlay/rsvp/
-
Click 'Edit Divi Overlay'

- Edit Dates and Button links
- Save
- Go to the RSVP Page again and check the dates are correct and the forms match with the dates
- Now you need to clear the cache on pages where the overlay is present. This is on the Weekend Experience Page and the In Person (Regathering) Page. Go to those pages and click Purge Current Page


How to Add Groups to Group Page
Overview of how groups syncing works
- In Gracelink, groups are created and certain settings are necessary to have it sync to Wordpress
- Then in Wordpress we sync the groups
- Then all these groups get pulled together by the Grid Plugin
Rights Needed
- You'll need to have rights to edit group properties on Gracelink or have someone else on staff do it.
- You'll also need Admin access to the Wordpress site or request a sync of the groups when you're done
Check the Group is ready on Gracelink
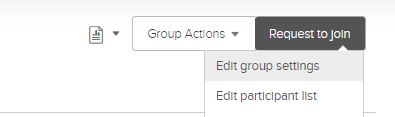
- Go to the group on Gracelink and click 'Group Actions' and then 'Edit group settings'

- On the General Tab:
- If you haven't added an image for the group add a 16x9 image
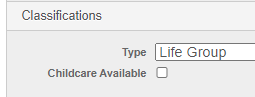
- Confirm the group is the correct Group Type i.e. Life Group, Connect Group, Grace Group

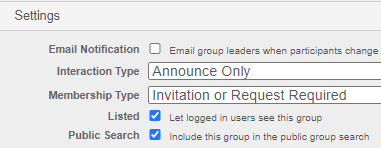
- On the When & Where Tab, make sure it's filled out.
- On the Options Tab, make sure Public Search is checked. If it isn't, it won't get pulled by the Wordpress plugin

Sync groups on Wordpress
(Remember that you'll need admin rights on the website or need to ask someone who does have admin rights to do this)
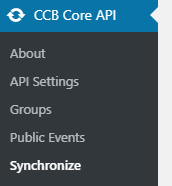
- On the Wordpress Dashboard, go to CCB Core API > Synchronize

- Click Synchronize and let the groups sync

- Then you need to go to your group page and click 'Purge Current Page' at the top of the page


Troubleshooting tips
If a group is not syncing:
- Double check all the GraceLink settings. If they aren't correct, they won't come into wordpress or get populated/categorized correctly in the Grid plugin
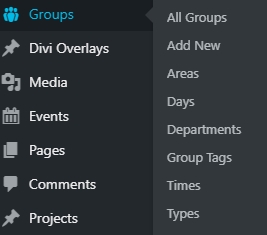
- See if the group is getting pulled into the Groups section of the Wordpress Dashboard. If it's not there, it hasn't come from Gracelink. If it is listed in the Groups section of Wordpress, it may not be populating into the Grid Plugin

Editing the Menu
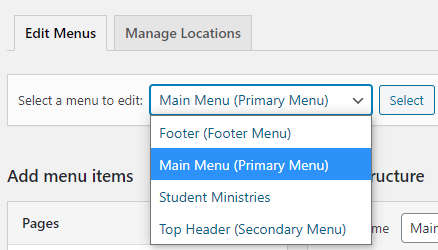
There are two sections of the Menu. The section highlighted in red is the Main Menu (Primary Menu) and the menu highlighted in green is called the Top Header (Secondary Menu)

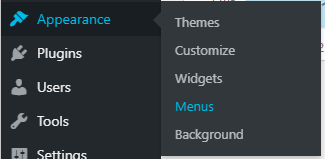
- To Edit the Menu, you'll go to the Wordpress Dashboard and select Appearance and then Menus

- Select the menu you need to edit that is referred to above. Then press the 'Select' button.

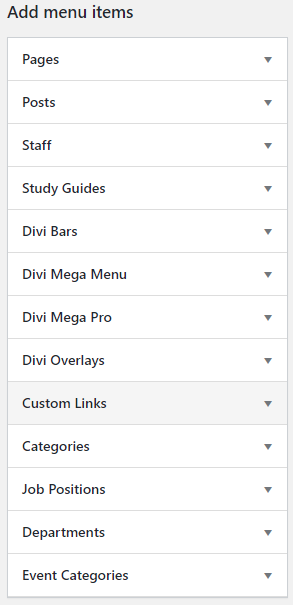
- To add a something to the menu, select it from the 'Add menu items' section. Most likely you will be choosing from the Pages section or adding a Custom Link.

Featured Events
To add an event to the featured events:
Before we start:
- Find or Create an event you want featured. The calendar is fed from the campus Gracelink Public calendar. Think if it would be best for it to be on that calendar as well, and then let the website sync from Gracelink to the campus website
- Create a graphic for the event. I would recommend keeping it simple with just the title. It's not necessary to put a lot of details about the event on this graphic. This graphic should be 16x9 (I recommend 1920x1080 pixels)
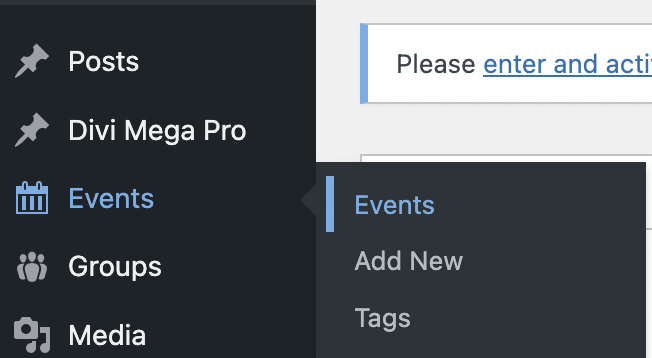
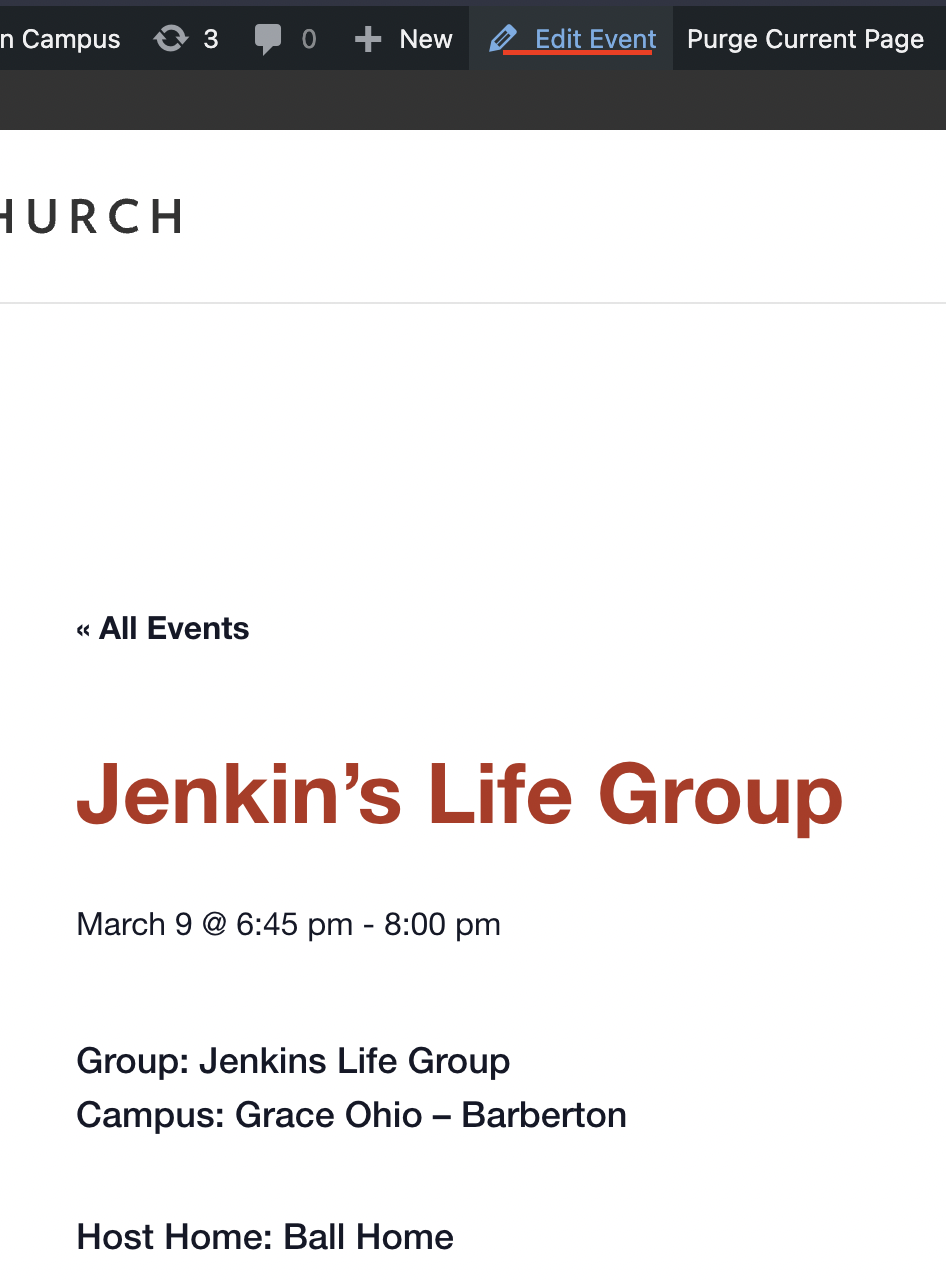
- Go to the event page either by going to events in the Wordpress dashboard or finding it on the Calendar, and then clicking

or finding it on the Calendar, going to the event page, and then clicking Edit Event
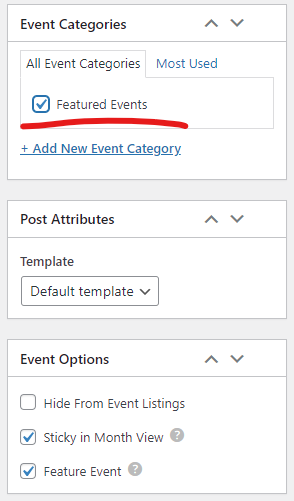
- On the Right side check the featured Event Category underlined. (as a note, the featured event check box down below in the Event Options will just highlight the event on the calendar)

-
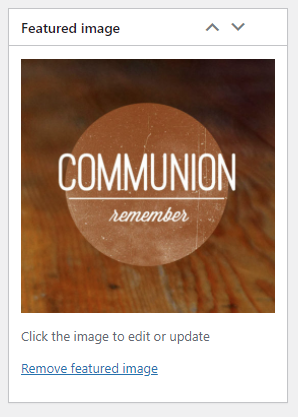
Make sure you have a 16x9 featured image added
- Hit Save
Add an Anchor Point to a Page
SOURCE: How To Create Anchor Links in Divi 2023 – Step by Step (divimundo.com)
Anchor Points are sections, rows, or elements down in a page that you want users to be taken directly to when they click on a link that has an anchor point in it. The locations of the are often not at the top of a page which is where you are usually directed to when you open new page, and anchor points basically scrolls down to where the section is automatically.
Here is how to utilize Anchor Points using the Divi Builder:
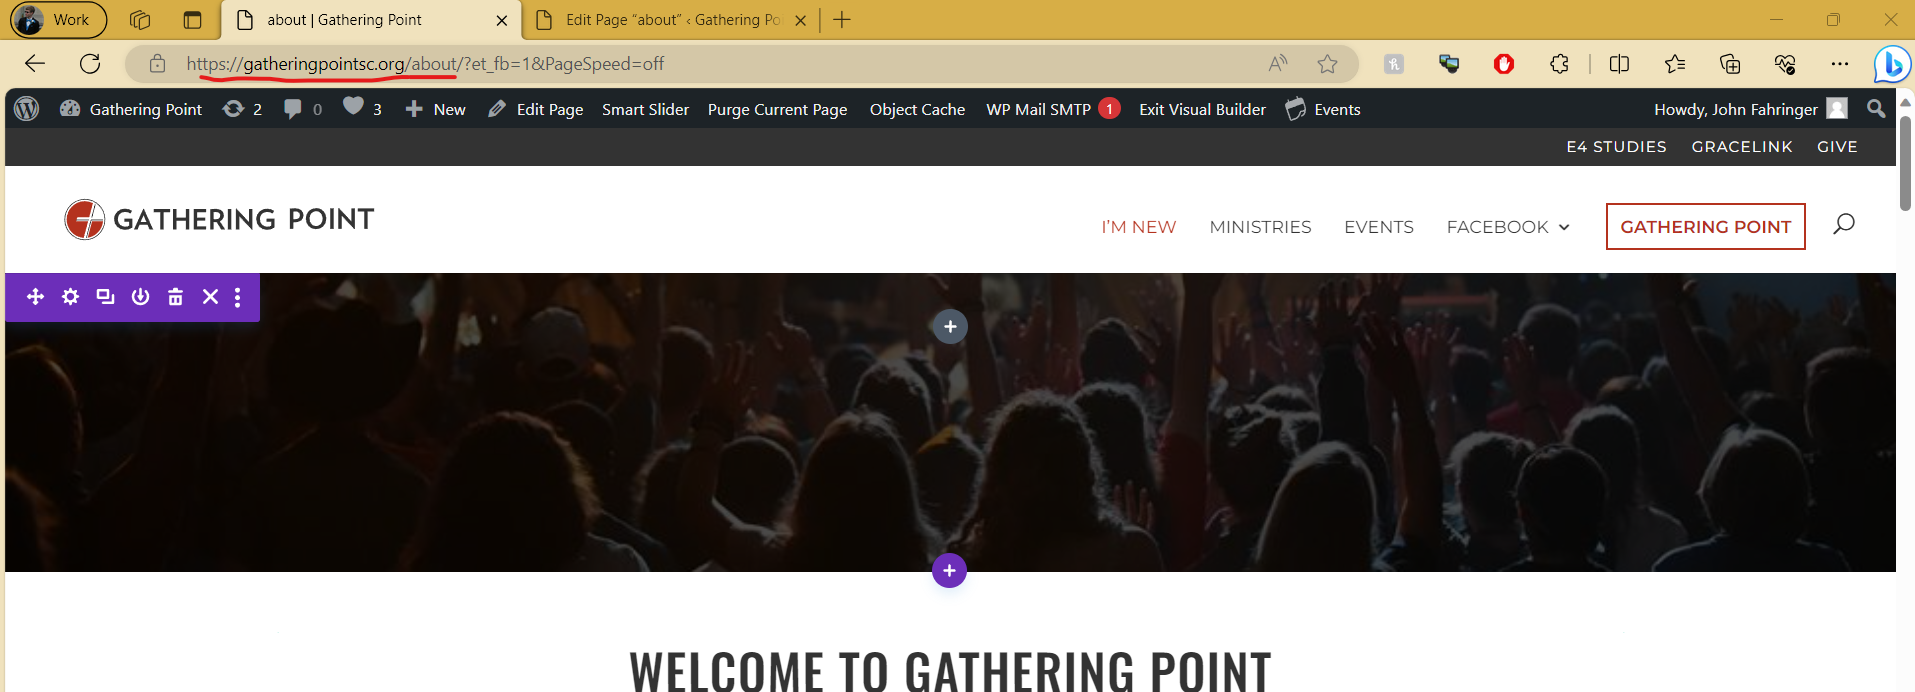
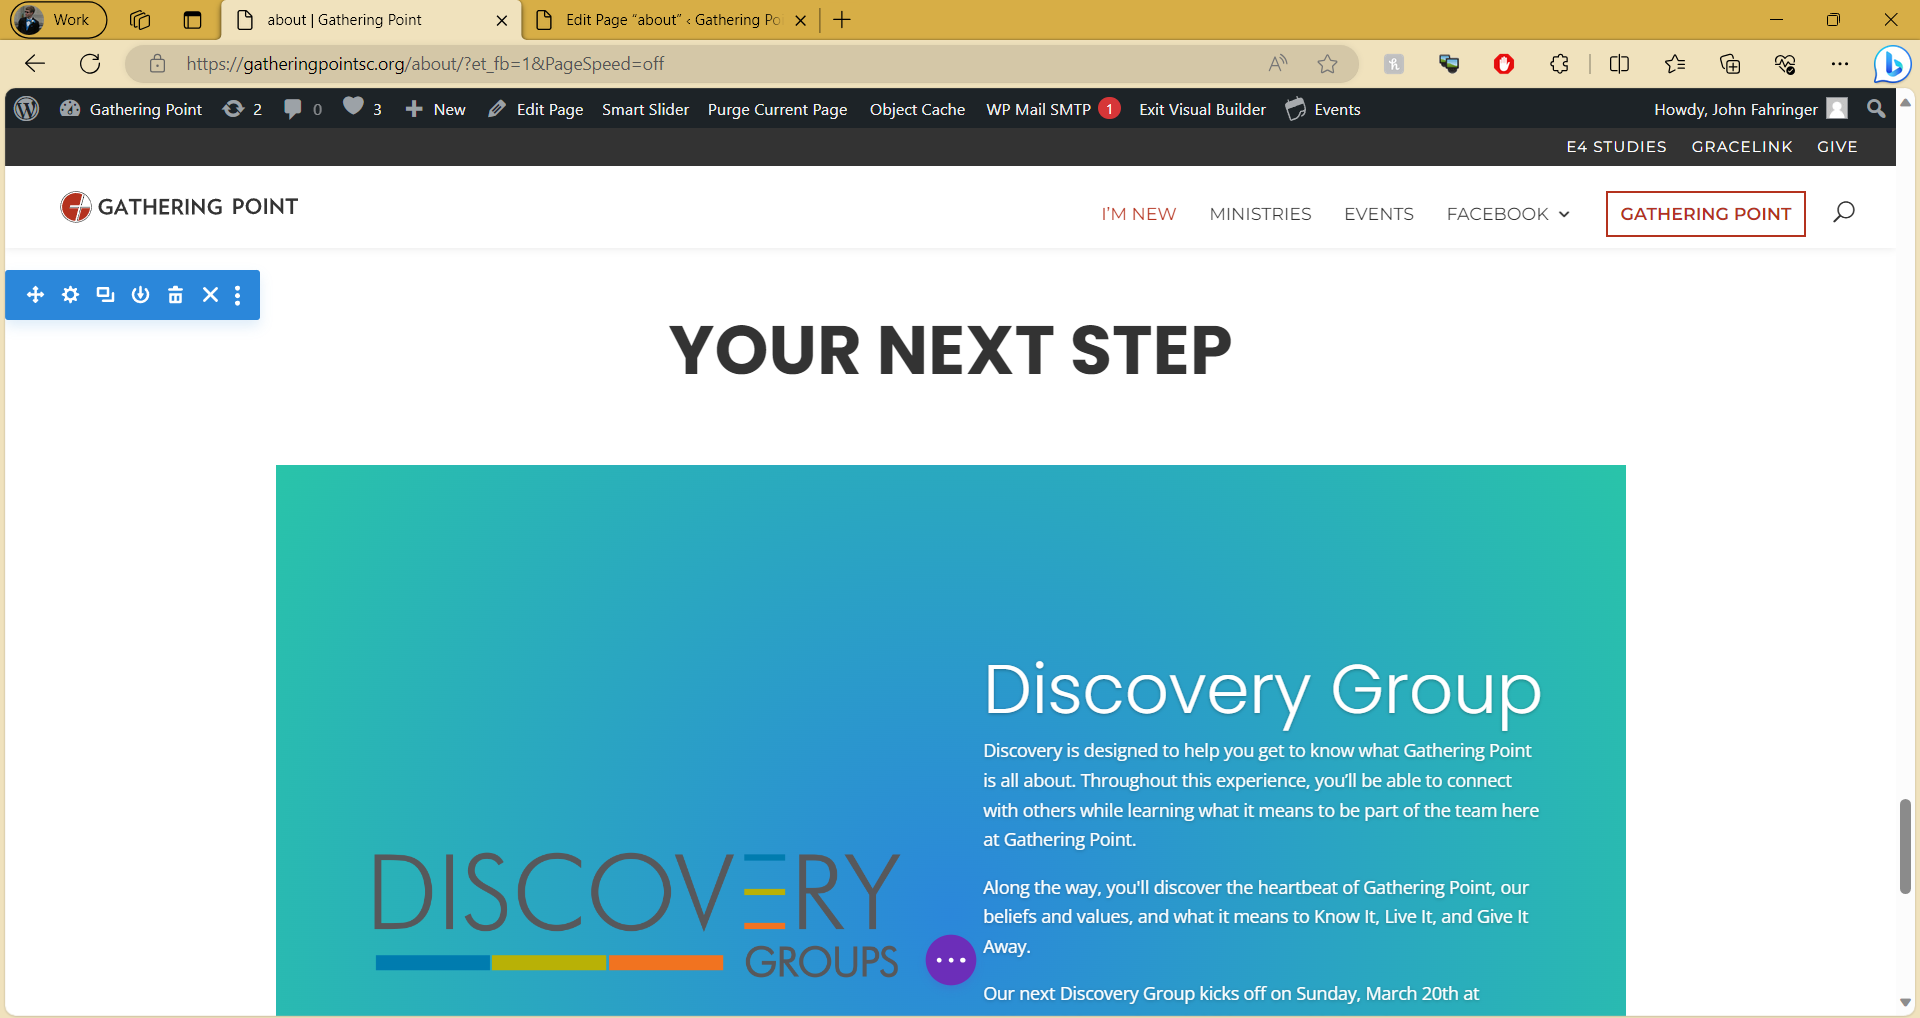
- Identify your page where you want to use an anchor point. Example, our About page on the Gathering Point site:

- Say we have a link on our Home page, and we want to take a user to a section on the About page. At the very bottom there is a Carousel playing a Discovery Group and Baptism Information slide.

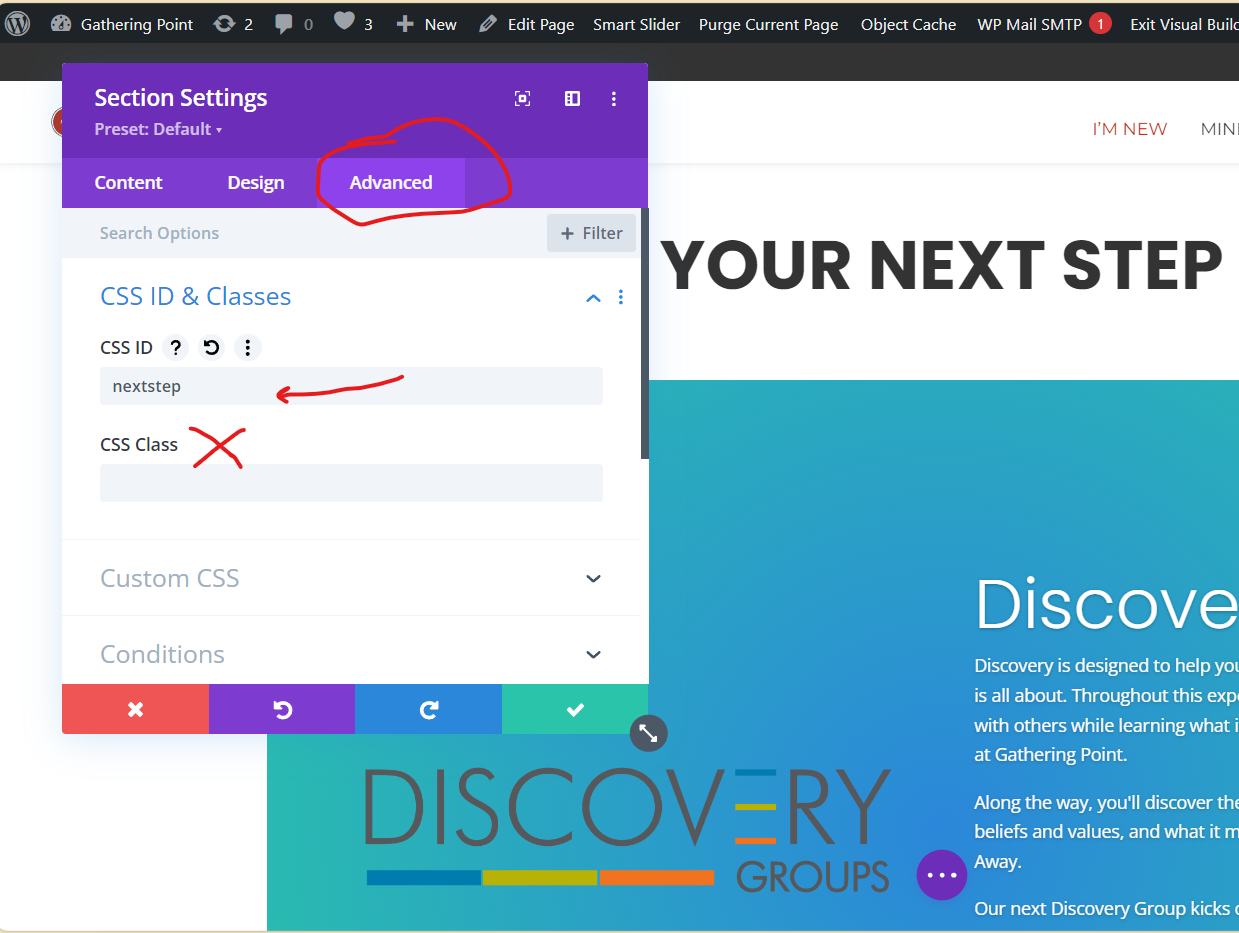
- Edit the settings of the section you want to set as an anchor point. Go to Advanced tab in the Section settings, and edit the CSS ID field. Give it a name, but don't include spaces.

- On the page you want the link to the Anchor point (this example is our home page), edit the element you want to insert a link with and insert a link to the page with the Anchor point (our about page). Then append the name of the anchor point we gave in step 3 (nextstep) with the # character preceding the name. Put the full link in any of the link fields you want to be active:


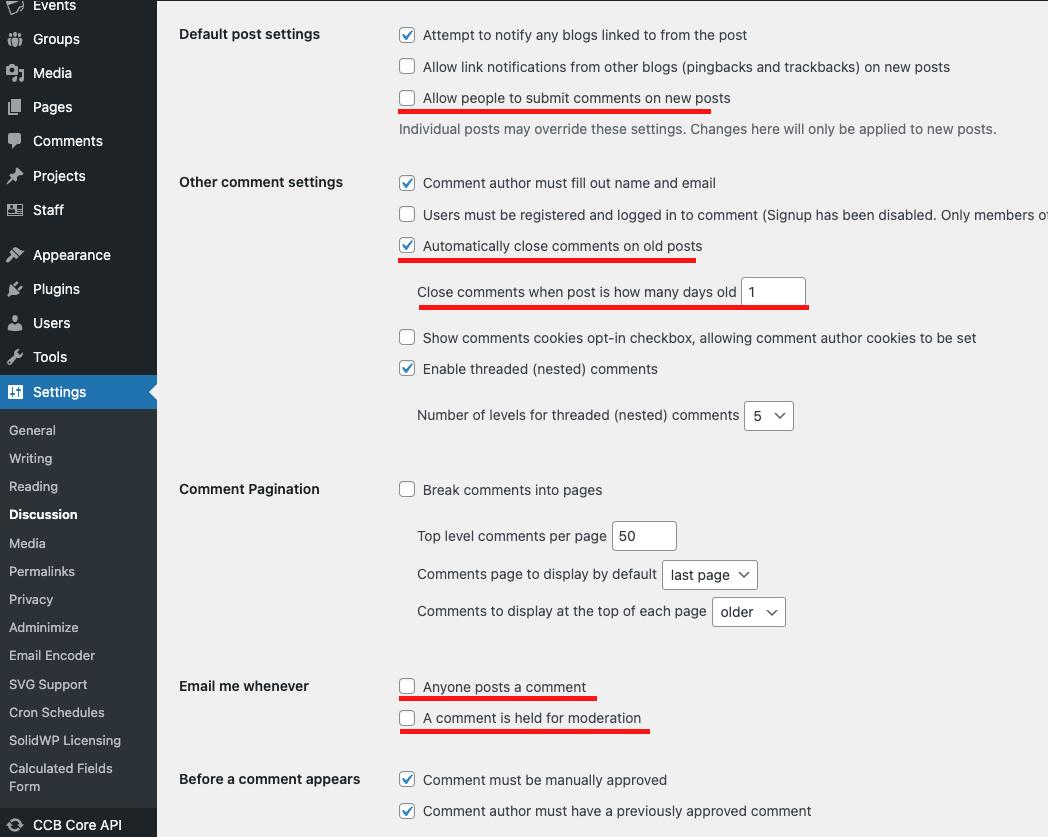
How to Disable Comments
Settings -> Discussion
For the New posts
De-check:
"Allow people to submit comments on new posts"
For Site-wide
Check:
Automatically close comments on posts older than [ ] days
(and set that to 1 days if you want to be 100% sure no old post has comments still enabled.
Fix CSS Loading Issue (Page looks Scrambled)
When we edit certain things on the site, certain cache needs refreshed. If your page looks like this:

Here is how to fix it.
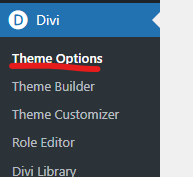
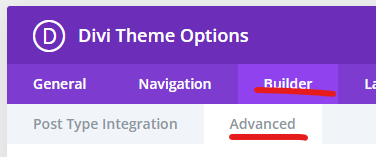
- On the dashboard, go to Divi and Theme Options

- Then Builder>Advanced

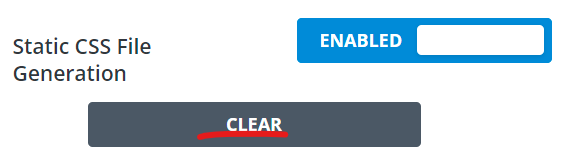
- Enable CSS File Generation and click the Clear Button


- DISABLE STATIC CSS File Generation after you've cleared it.
- Then hit save changes


Wordpress is logging you out repeatedly
Currently the Multisite has an issue with logging you out of the blue. If the site is logging you repeatedly, one thing you can try is to clear the cache out of your browser that you are editing on. Refer to the Clear Caches and Cookie guides for your specific browser:
- Clear Google Chrome Cookies/Cache
- Clear Microsoft Edge Cookies/Cache
- Clear Mozilla Firefox Cookies/Cache
- Clear Safari Cookies/Cache