Laptop & Operating Systems
Windows
How to change your Windows Password
If you are using Windows:
- Press CTRL-ALT-DEL and select Change Password.
- Follow the onscreen instructions
Password requirements:
- Must not contain the user's account name or parts of the user's full name that exceed two consecutive characters
- Must not be one of your last 8 passwords
- Be a minimum of 8 characters
- Contain characters from three of the following four categories:
- Uppercase characters (A through Z)
- Lowercase characters (a through z)
- Numbers (0 through 9)
- Special characters (for example, !, $, #, %)
Add a Delegate Windows outlook
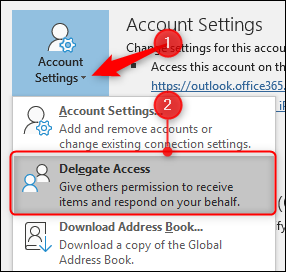
To delegate your mailbox to someone, click File > Account Settings and then click the “Delegate Access” command.
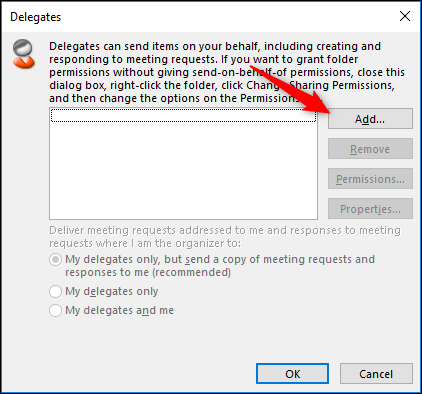
This opens the Delegates window, which will be empty the first time you open it. Click the “Add” button to set up a delegate.
This opens up the Global Address List (the list of all the people in your company), so you can choose a delegate.
Select the person to whom you’re delegating and then click “OK” to open up the Delegate Permissions.

The default permissions give the delegate Editor rights to your Calendar and Task list, but don’t allow them any access to your Inbox, Contacts, or Notes. However, you can change the default permission for any of these categories. The options are:
- None: The delegate has no access.
- Reviewer: The delegate can read items, but not edit them.
- Author: The delegate can read and create items, and change and delete items that they create (such as meeting requests or tasks).
- Editor: The delegate can do everything that an Author can do and can also change and delete the items that you’ve created.
If you just want your delegate to manage your calendar (and tasks, which can be assigned to other people), then the default permissions will work fine. The “Delegate receives copies of meeting-related messages sent to me” option is switched on, so the delegate doesn’t need access to your inbox. Meeting requests and responses are sent to them automatically when this is switched on.
Your delegate won’t see any meetings or appointments that you’ve created and marked as private; they’ll just see that there is a private appointment. If you want them to see (and edit) your private appointments, switch on the “Delegate can see my private items” option.
Finally, it’s usually a good idea to switch on the “Automatically send a message to delegate summarizing these permissions” option, so that the delegate knows they’ve got permission to access your mailbox.
Click OK to return to the Delegates panel. The three options at the bottom that were grayed out before you added a delegate are now available.

The default option—meeting requests are sent to your delegates, and a copy is sent to you for reference—works for most people, but change to one of the other options if you want.
Once you click “OK” your delegate is added. They can now add your mailbox to their Outlook profile and access whatever you’ve let them access.
Use the From Field in Outlook
Outlook Web Access (OWA) Login
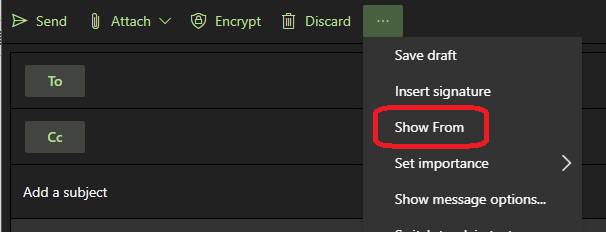
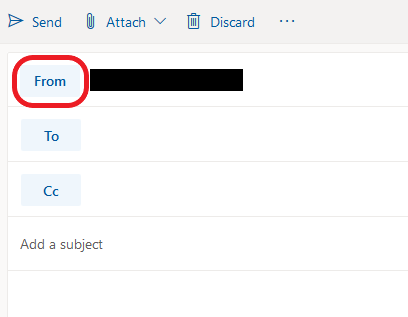
- To show the From Field click the three dots next to Discard and select Show From

- When you click on From other email addresses will be listed that you can send from. You can also click on Other email addresses… to enter the email address of someone you have the ability to send as.

Outlook Desktop App – Windows
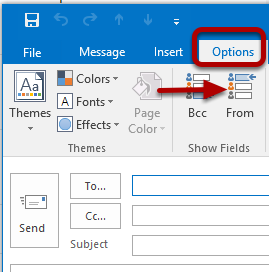
- By default, the From field will not be displayed when you compose a message. To display the From field click on the Options tab and select From in the Show Fields section. Now the From field will be displayed when composing a message in the future.

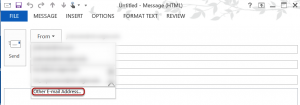
- When composing a message click on From to see what email addresses you can send as.

- If you don't see the account you want to mail from in the drop-down box and select Other E-Mail Address.

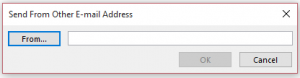
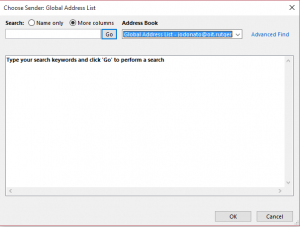
- Click on From... then find the user in the Global Address List.

Outlook Desktop App – Mac
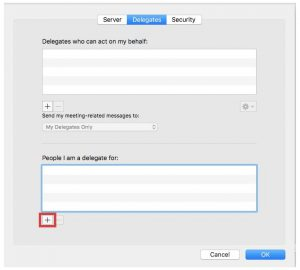
1) By default, the From field will not be displayed when you compose a message. The From field will only be displayed after you set up a delegate for your account.
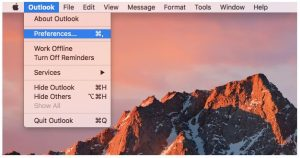
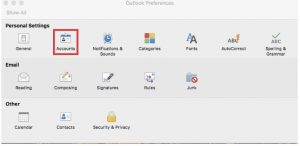
3) Select the Accounts option.
4) Select the Advanced button.
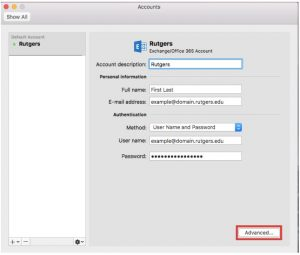
5) A new window will pop up that has three sections. Navigate to the center option labeled Delegates. On the bottom half of the pop-up, there will be a section titled People I am a delegate for. Select the “+” sign to add a new address that your account can send from.
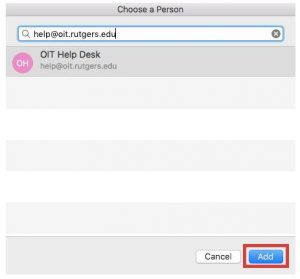
6) A new box will pop up. Search the directory to find the address you wish to send from. (If the address is hidden from the directory, you will be unable to set up your Outlook for Mac to be able to send from the address.) Hit the Add button.
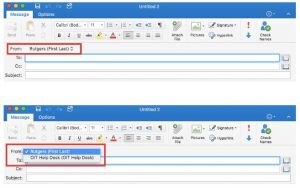
7) The next time you compose a message the Alternate Email Address will be available in a drop-down menu located in the From field.
MacOS
How to change your MAC Password
OSX:
- Choose System Preferences from the Apple menu, then click Users & Groups.
- Select your username from the list of users.
- Click the Change Password button, then follow the onscreen instructions.
- DO NOT wait until you are prompted at the login screen! This will unsync your keychain password, causing repeated prompts to enter it.
Password requirements:
- Must not contain the user's account name or parts of the user's full name that exceed two consecutive characters
- Must not be one of your last 8 passwords
- Be a minimum of 8 characters
- Contain characters from three of the following four categories:
- Uppercase characters (A through Z)
- Lowercase characters (a through z)
- Numbers (0 through 9)
- Special characters (for example, !, $, #, %)
Checking Mac Hardware for Issues
If you think your computer is experiencing some type of hardware issue there is an easy way to check your Mac, thanks to Apple Diagnostics. The following steps will help you see if your computer is detecting something wrong with the hardware.
- Shut down your Mac
- Turn your Mac on and immediately hold the R key while it is booting up.
- You may be prompted to select a language or the diagnostics might start automatically.
- You will see a progress bar and it should say “Checking your Mac”
- If any issues are found during the search it will give you a reference code.
- Note this code and submit it to the IT team through an email (helpdesk@graceohio.org) when your computer is up and running.
- From the summary screen of the scan you can do the following:
- Restart test by hitting Command + R
- Restart computer by hitting R
- Shut down by hitting S
If you have any questions feel free to reach out to the IT team with any questions about this process.
The following link will take you to the official post from Apple in regards to using Apple Diagnostics: https://support.apple.com/en-us/HT202731
How to Update MacOS and Other Applications
How to update Mac-OS, Safari, Messages, Mail, Music, Photos, FaceTime, and Calendar.
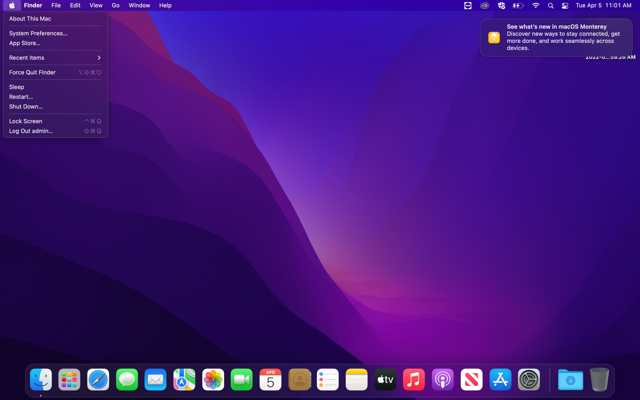
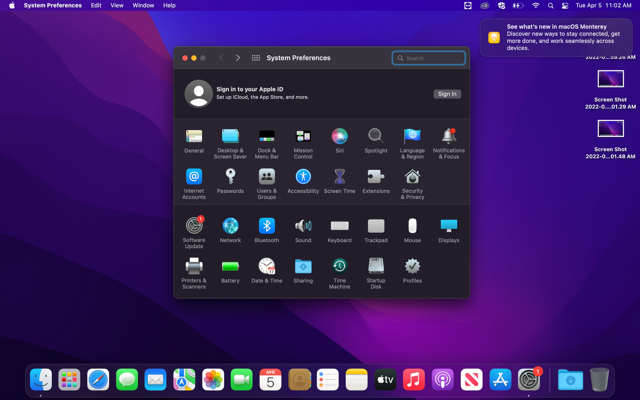
- Click on system preferences.
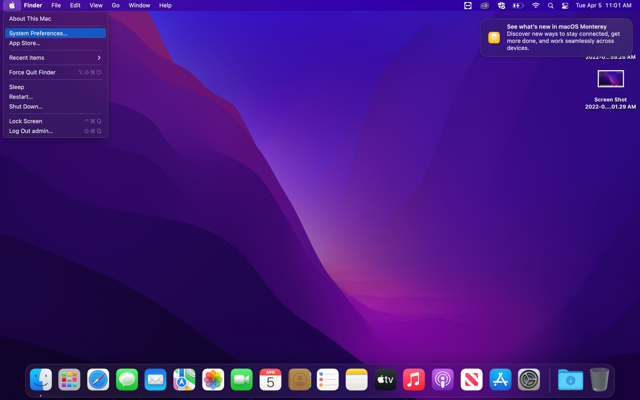
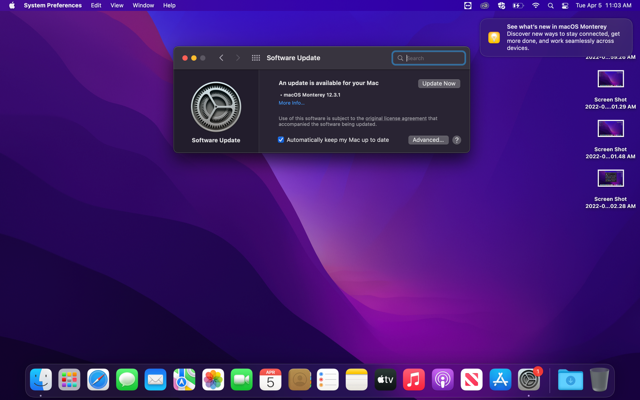
- In the new window, click on Software Update.
- If an update is available, click on upgrade now.
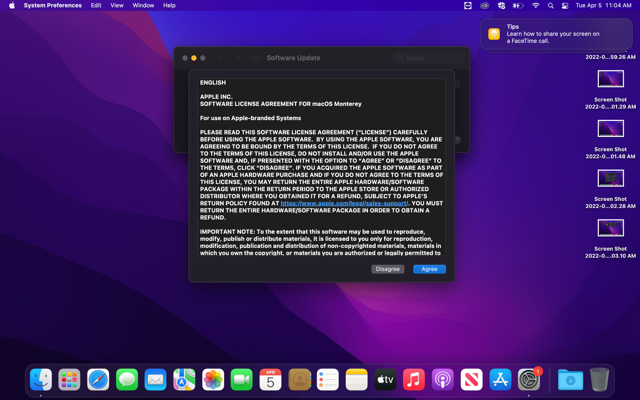
- Click Agree.
- Allow the program to download. Make sure any important documents are saved and closed during this process.
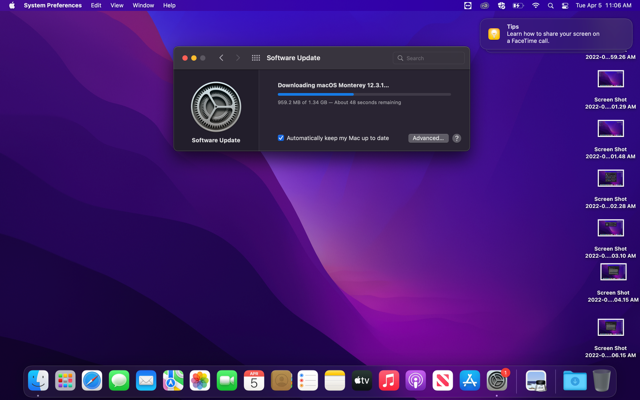
- Once the download is complete, the computer will restart to complete the download.
- After some loading, you will need to login back onto your computer. Your OS will be updated, along with the stated applications.
Format External Drive as ExFAT
IMPORTANT: This article applies to the following macOS version:
- macOS 14 (Sonoma)
- macOS 13 (Ventura)
- macOS 12 (Monterey)
- macOS 11 (Big Sur)
Need Help?
- Not sure which version you are using? Click here to determine your version of macOS
- Not seeing your version of macOS? Click here to see other versions of macOS and different formatting options
It is important to keep the following in mind when formatting to ExFAT:
- ExFAT is not compatible with Time Machine. If you are wanting to use Time Machine, format your drive APFS.
- ExFAT drives must be safely ejected to prevent corruption because ExFAT is not a journaled file system
- When using between macOS and Windows, drives should always be formatted on macOS because not all Windows allocation unit sizes (cluster sizes) are supported by macOS which will prevent the drive from mounting
Looking for a different formatting option?
Steps:
IMPORTANT: Reformatting the drive will erase all data on the drive, so you should copy any data you want off the drive prior to formatting.
Note: If you would prefer a video tutorial of these steps instead, please click the thumbnail below.

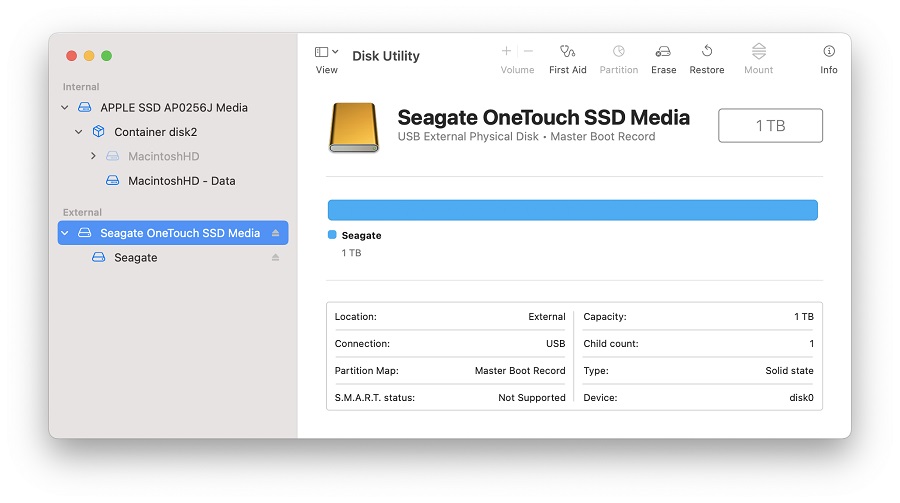
- Open Disk Utility
To open Disk Utility - Open Finder > Applications > Utilities > Disk Utility - Click View in the upper left and select Show All Devices

- Select the non-indented entry, you will see Media in the name
-
Click the button labeled Erase in the menu which will bring up this window.
NOTE: If you don’t see scheme, then make sure that all devices are showing and the non-indented entry is selected. Check step 2 to confirm Disk Utility is Showing All Devices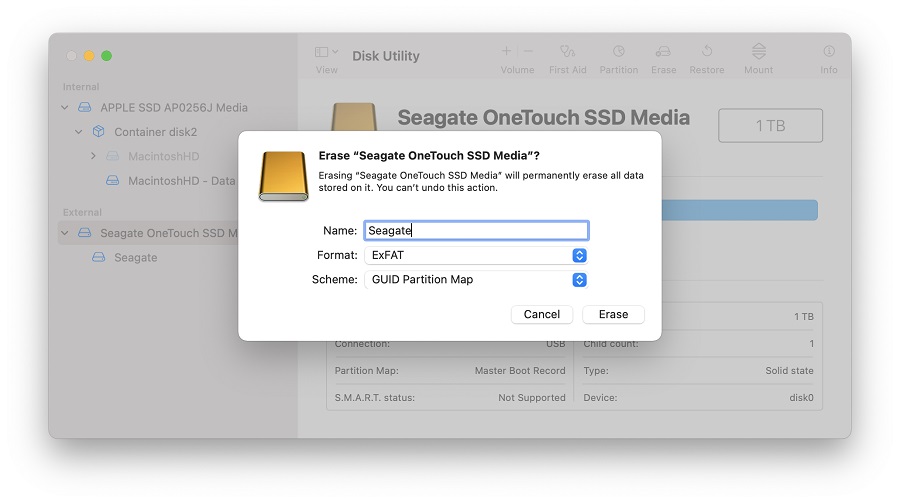
-
Provide a Name for the volume
- Set Scheme to GUID Partition Map
- Set Format to ExFAT
WARNING: Formatting the drive will erase all data on the drive, so you should copy any data you want off the drive prior to formatting. - Click Erase, Disk Utility will start formatting the drive
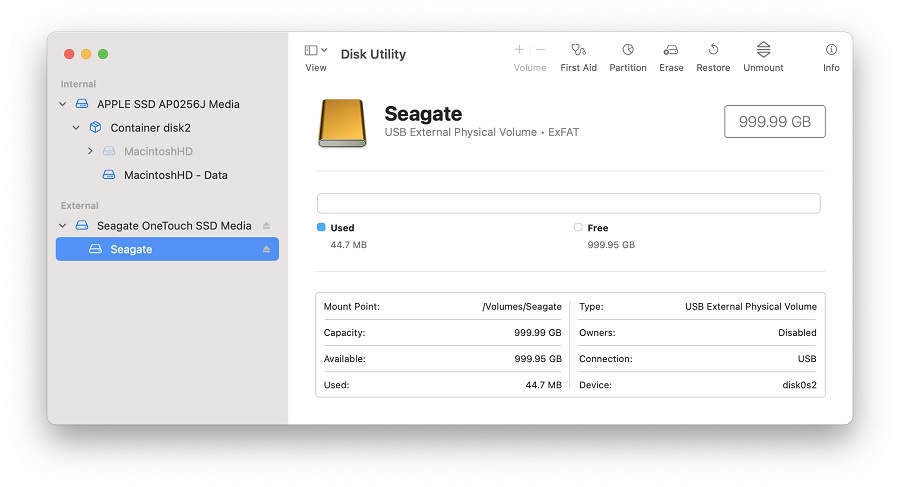
- Once complete, click Done
- The drive should now be formatted ExFAT, this can be confirmed by selecting the indented entry which will now show ExFAT Volume under the name you provided
Install Addigy MDM Profile
Install the MDM Profile
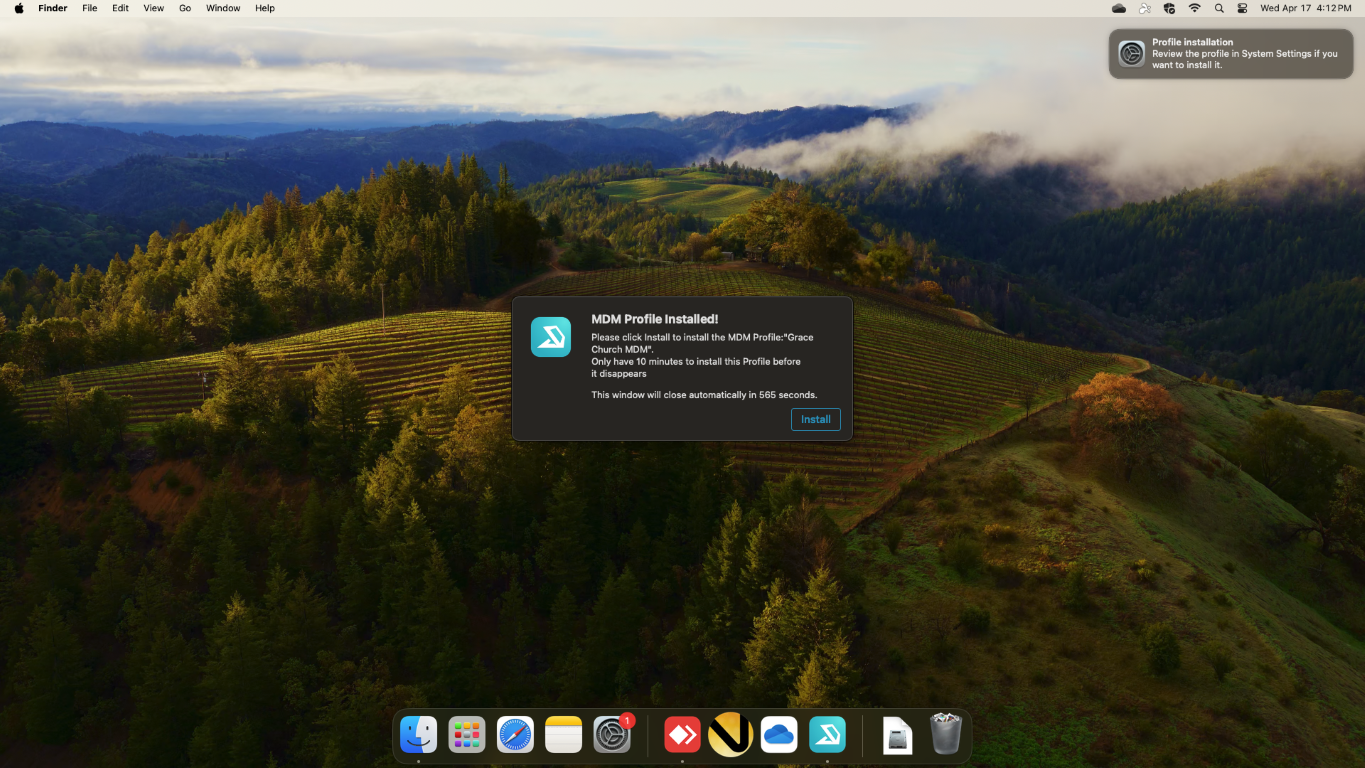
To finish installing Addigy a prompt to install the MDM Profile will pop up on your screen and/or as a notification. Click Install on the prompt.
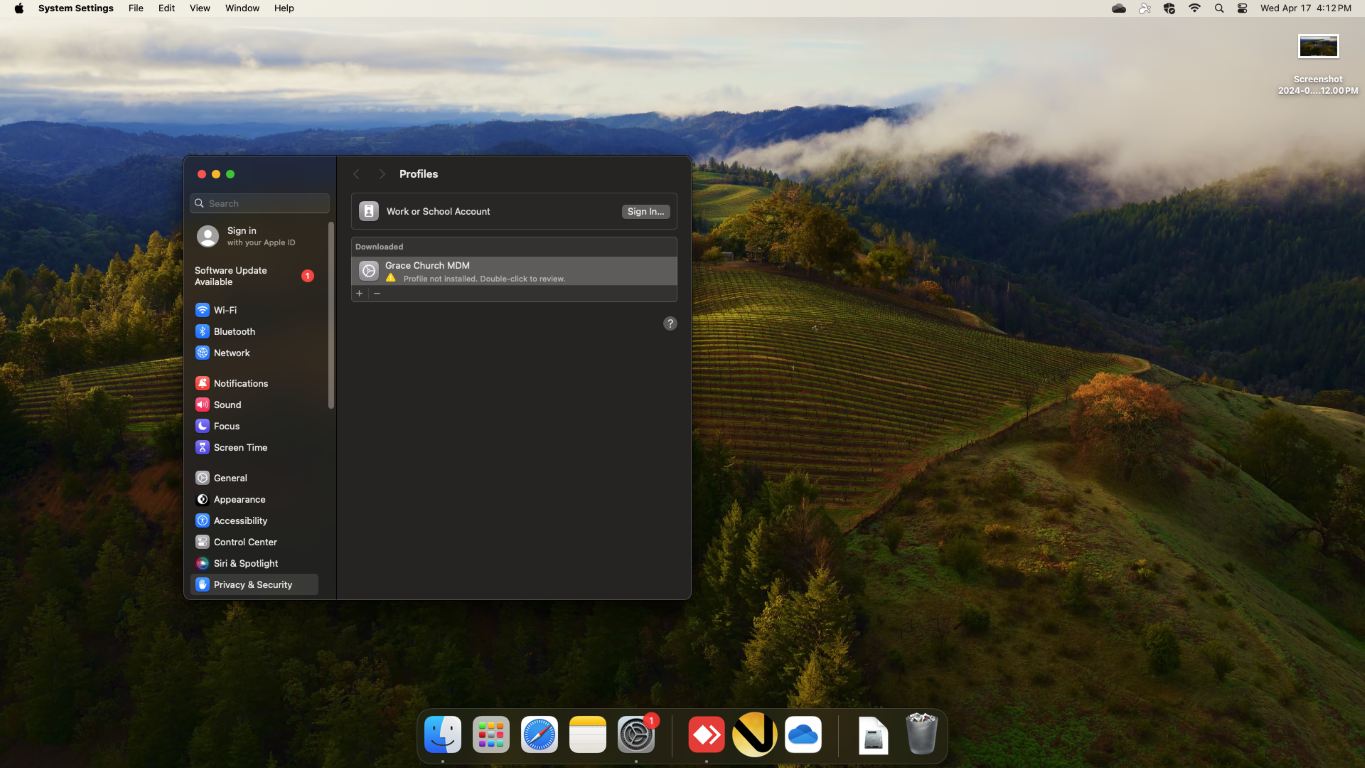
This will launch macOS System Preferences and open it to Privacy & Security > Profiles.
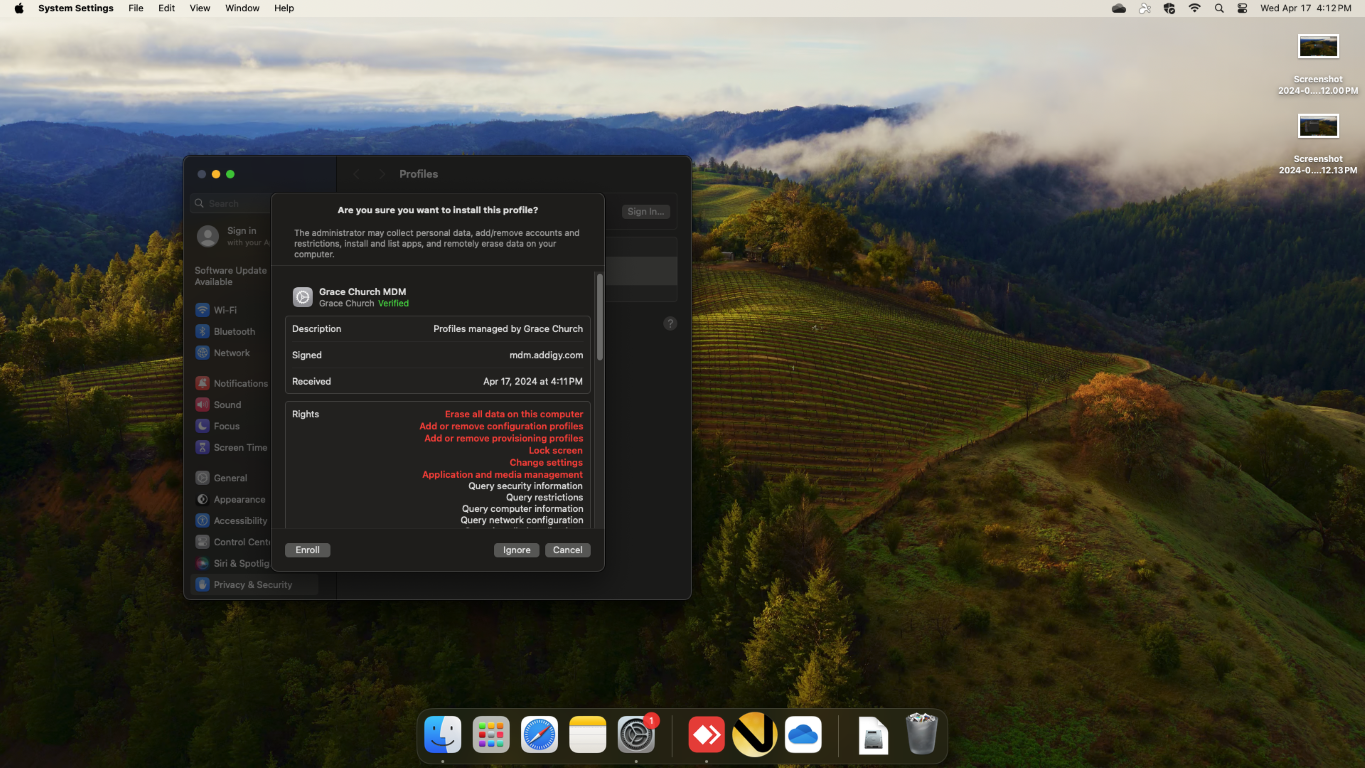
Double click the profile named "Grace Church MDM" and click "Enroll" on the window that opens. The MDM will then push down multiple profiles, no further interaction will be needed.
- The Installation Prompt. Click "Install".

- The Profiles Menu with the Grace Church MDM Profile to be installed. Double-Click the "Grace church MDM" Profile.

- The MDM Profile Details Page. Click "Enroll".

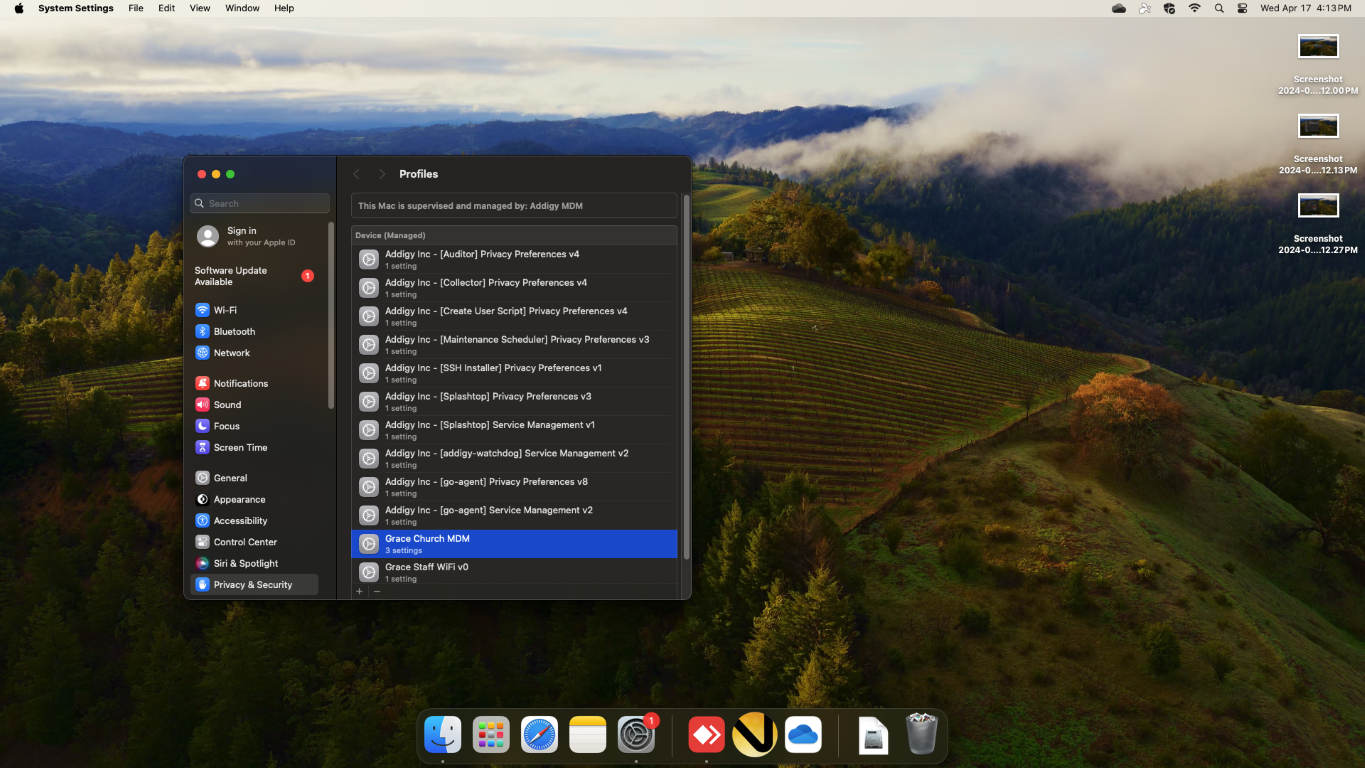
- The Installed Profiles. All Finished.

Deactivating Activation Lock on Mac
You can disable Mac Activation lock directly on your Mac. Below is an expandable block detailing how to do this in 5 steps:
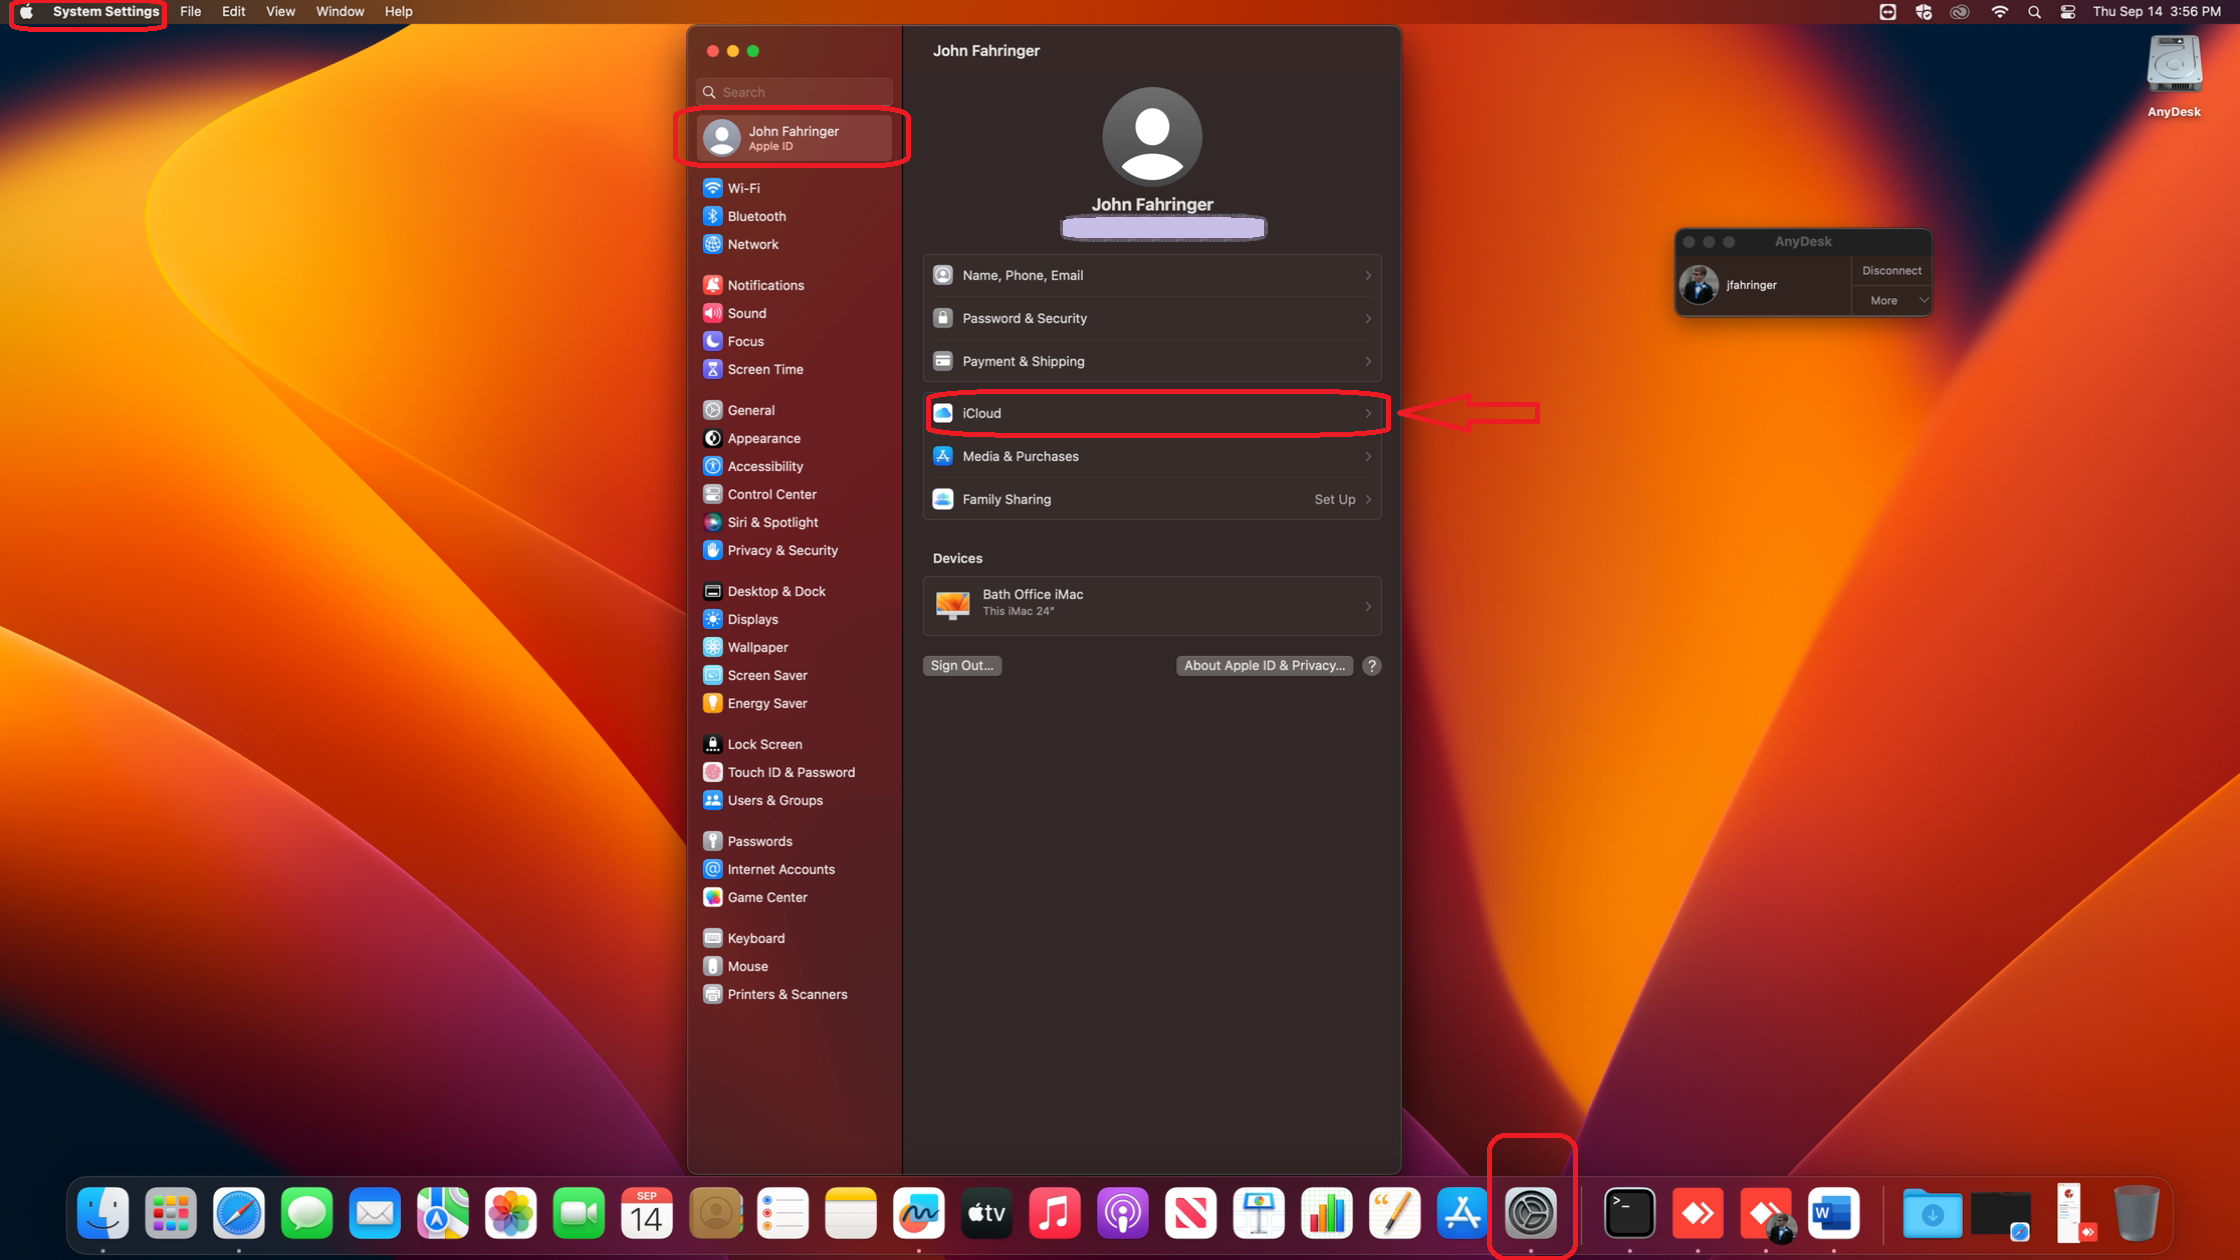
1. On your system settings, click on your "Apple ID". If you initially signed into your MacBook with your Apple ID, when you click on that, you should see something like this. Then, click on "iCloud":
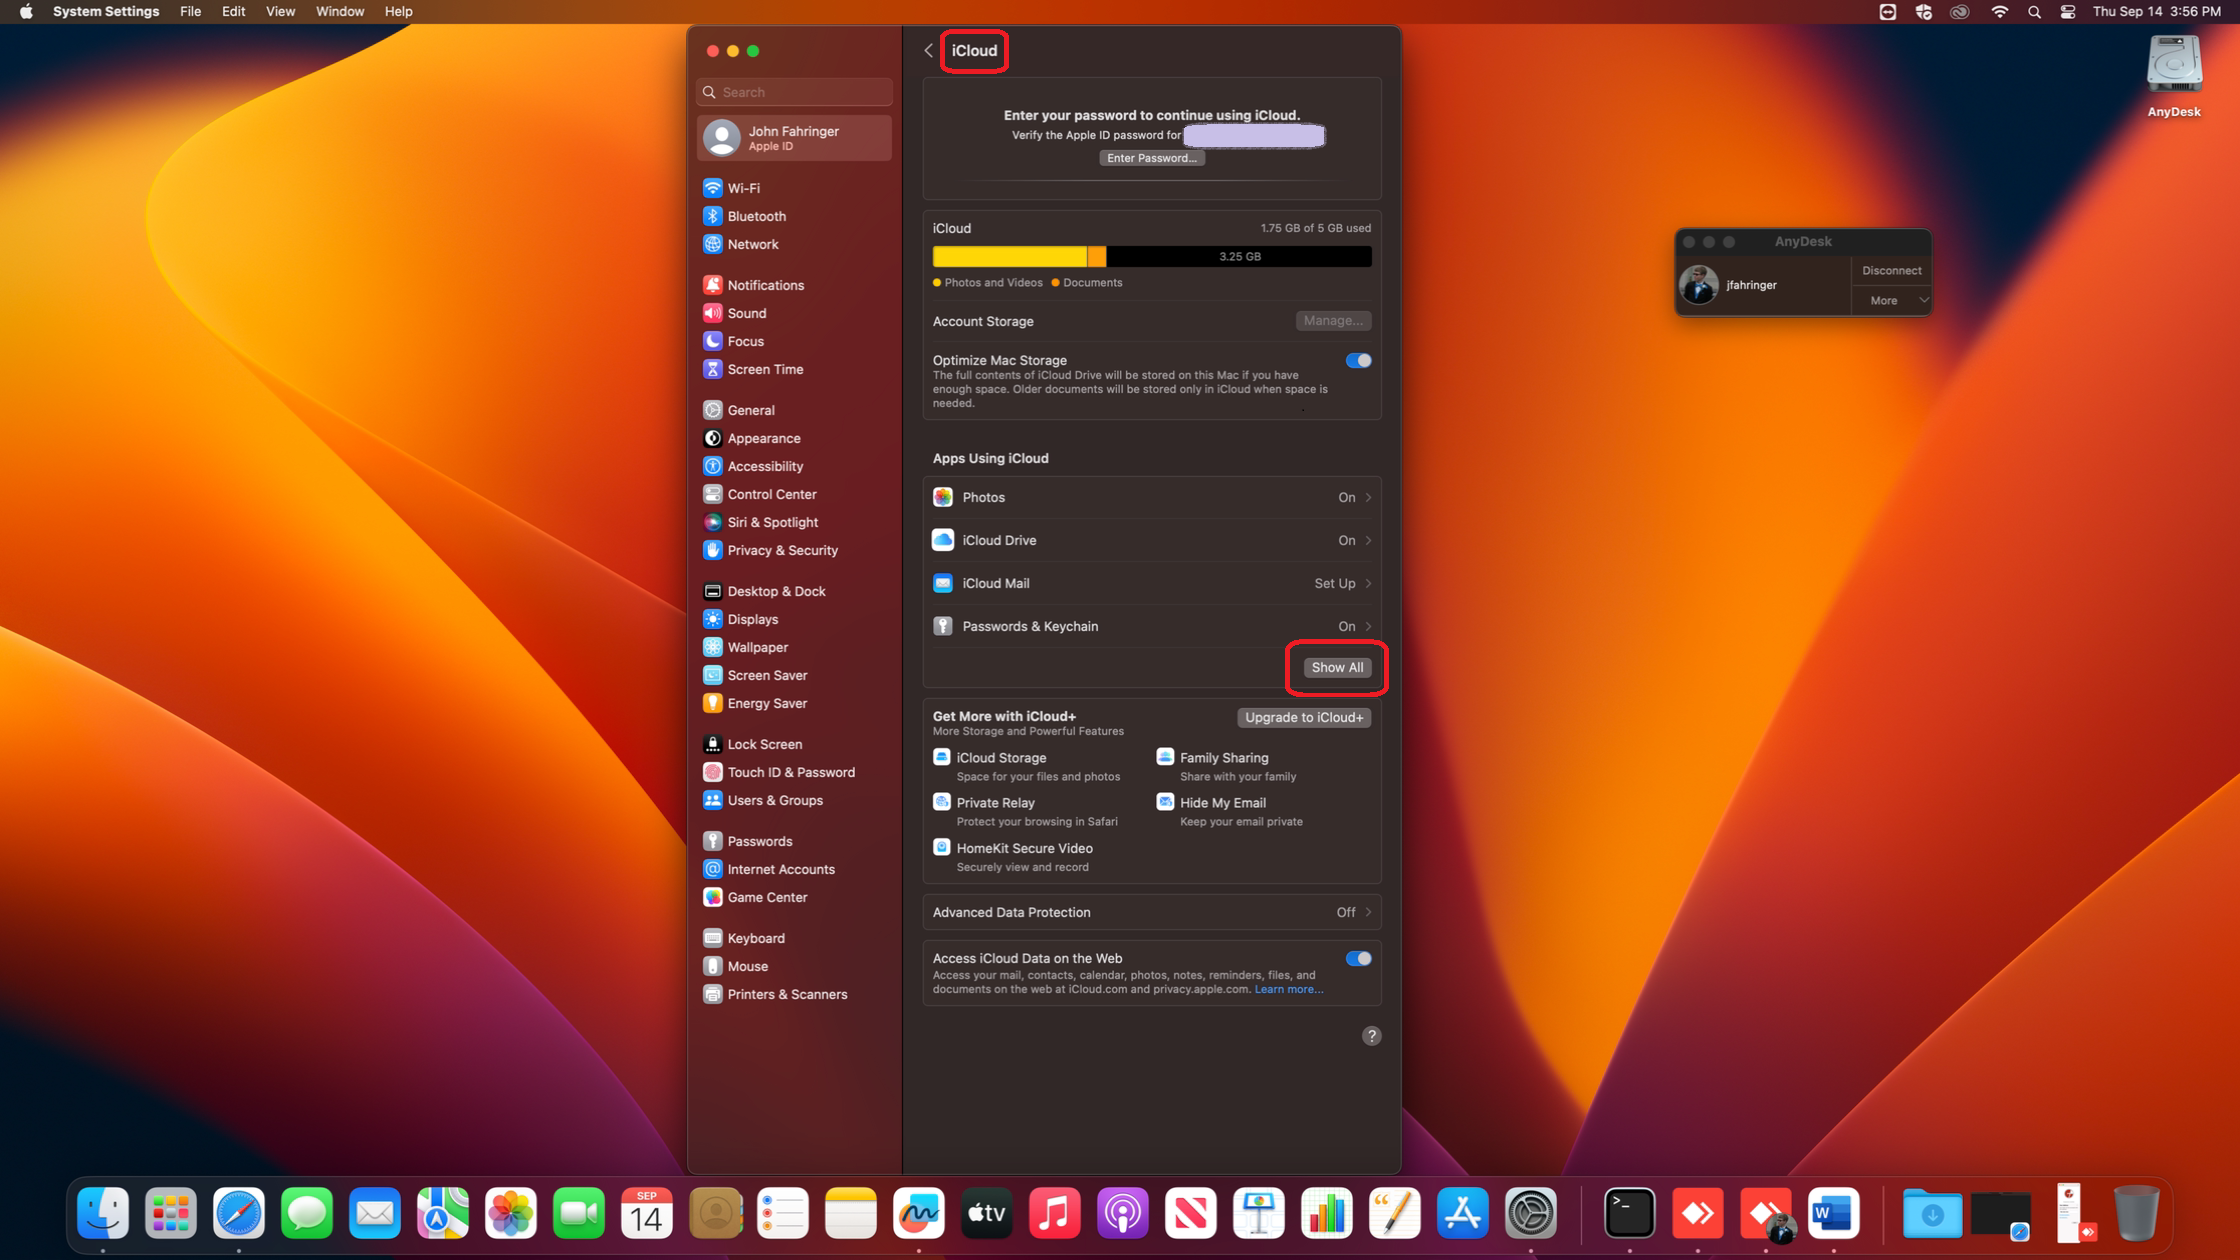
2. On the next screen, hit "Show All"
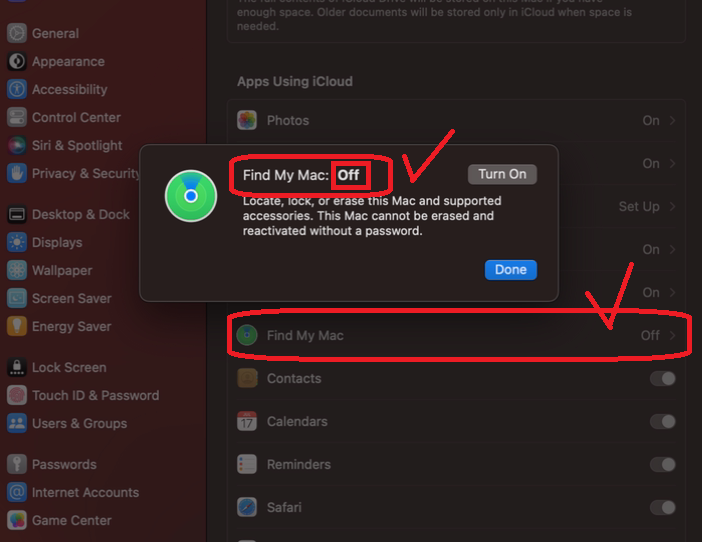
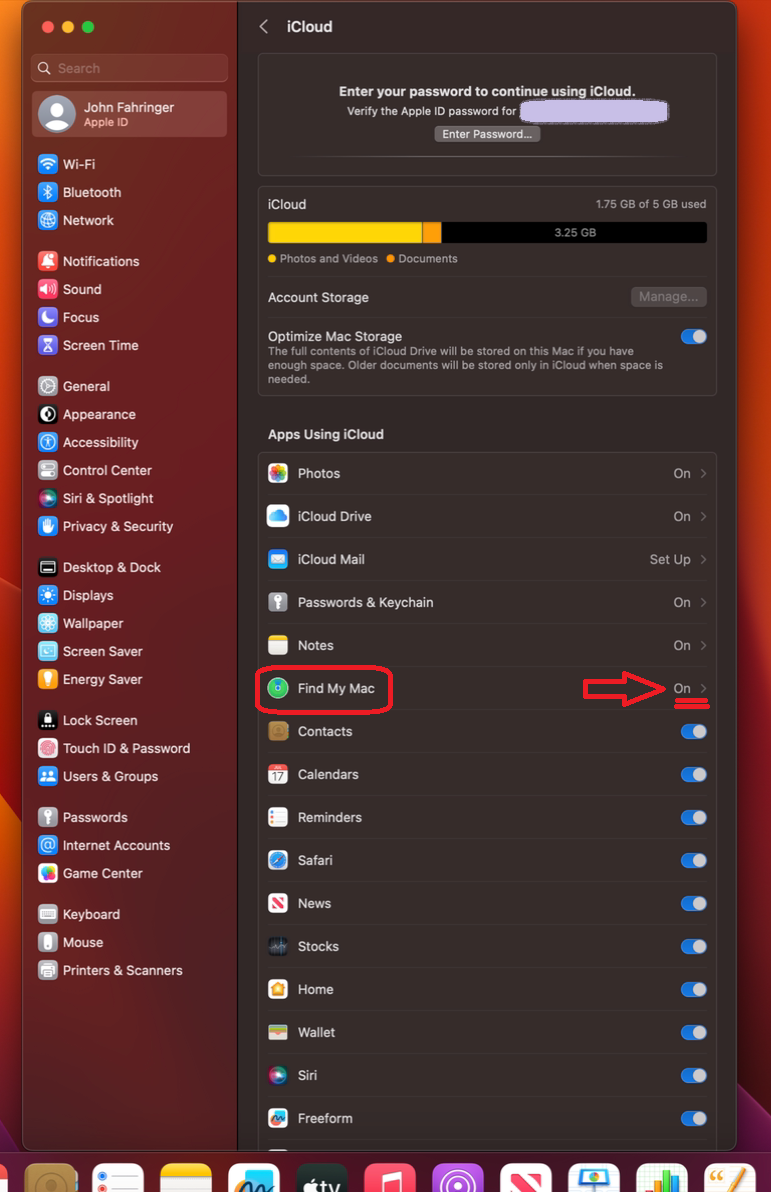
3. This displays more options for us. Scroll down to "Find My Mac" and check the status on it. If it is set to "On", we need to change it. Click on it:
4. Next to "Find My Mac", hit Turn Off. You will be prompted to enter your Apple ID password at this point, so be sure to have that handy. This disables Activation Lock on the Computer and enables the computer to have resale value.
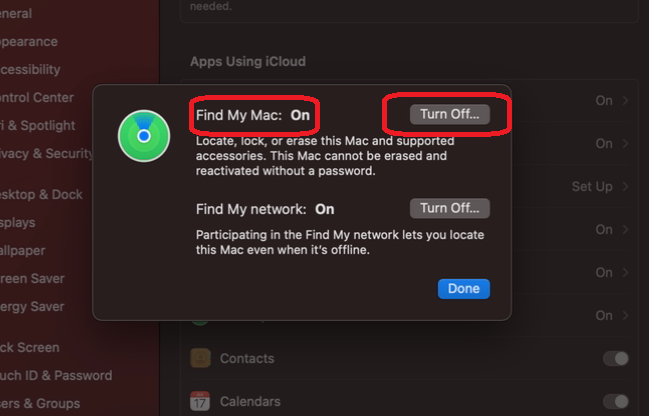
5. You can verify that Find My Mac has been turned off, which turns off Activation Lock. You're done! You can also sign out of your Apple ID at this point if you want. Regardless we will wipe the computer before returning it to the leasing company or redistributing it.