Windows
How to change your Windows Password
If you are using Windows:
- Press CTRL-ALT-DEL and select Change Password.
- Follow the onscreen instructions
Password requirements:
- Must not contain the user's account name or parts of the user's full name that exceed two consecutive characters
- Must not be one of your last 8 passwords
- Be a minimum of 8 characters
- Contain characters from three of the following four categories:
- Uppercase characters (A through Z)
- Lowercase characters (a through z)
- Numbers (0 through 9)
- Special characters (for example, !, $, #, %)
Add a Delegate Windows outlook
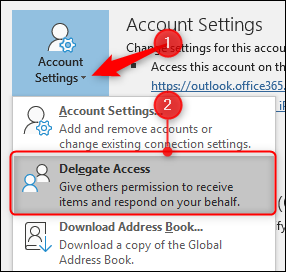
To delegate your mailbox to someone, click File > Account Settings and then click the “Delegate Access” command.
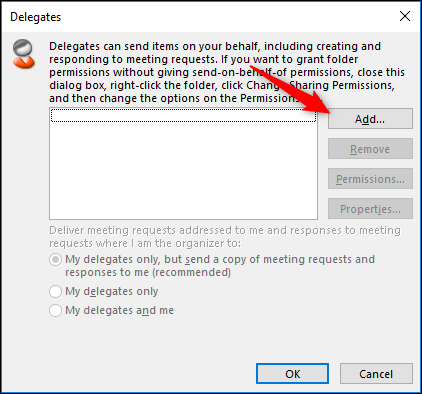
This opens the Delegates window, which will be empty the first time you open it. Click the “Add” button to set up a delegate.
This opens up the Global Address List (the list of all the people in your company), so you can choose a delegate.
Select the person to whom you’re delegating and then click “OK” to open up the Delegate Permissions.

The default permissions give the delegate Editor rights to your Calendar and Task list, but don’t allow them any access to your Inbox, Contacts, or Notes. However, you can change the default permission for any of these categories. The options are:
- None: The delegate has no access.
- Reviewer: The delegate can read items, but not edit them.
- Author: The delegate can read and create items, and change and delete items that they create (such as meeting requests or tasks).
- Editor: The delegate can do everything that an Author can do and can also change and delete the items that you’ve created.
If you just want your delegate to manage your calendar (and tasks, which can be assigned to other people), then the default permissions will work fine. The “Delegate receives copies of meeting-related messages sent to me” option is switched on, so the delegate doesn’t need access to your inbox. Meeting requests and responses are sent to them automatically when this is switched on.
Your delegate won’t see any meetings or appointments that you’ve created and marked as private; they’ll just see that there is a private appointment. If you want them to see (and edit) your private appointments, switch on the “Delegate can see my private items” option.
Finally, it’s usually a good idea to switch on the “Automatically send a message to delegate summarizing these permissions” option, so that the delegate knows they’ve got permission to access your mailbox.
Click OK to return to the Delegates panel. The three options at the bottom that were grayed out before you added a delegate are now available.

The default option—meeting requests are sent to your delegates, and a copy is sent to you for reference—works for most people, but change to one of the other options if you want.
Once you click “OK” your delegate is added. They can now add your mailbox to their Outlook profile and access whatever you’ve let them access.
Use the From Field in Outlook
Outlook Web Access (OWA) Login
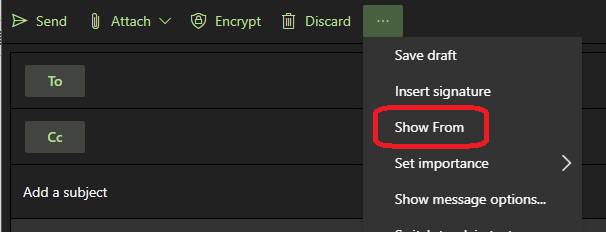
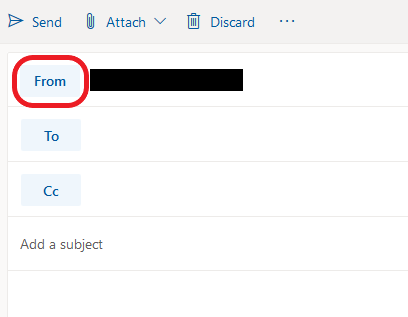
- To show the From Field click the three dots next to Discard and select Show From

- When you click on From other email addresses will be listed that you can send from. You can also click on Other email addresses… to enter the email address of someone you have the ability to send as.

Outlook Desktop App – Windows
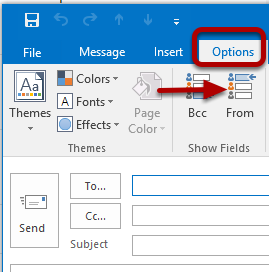
- By default, the From field will not be displayed when you compose a message. To display the From field click on the Options tab and select From in the Show Fields section. Now the From field will be displayed when composing a message in the future.

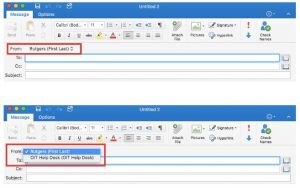
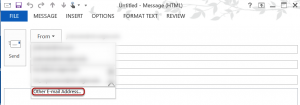
- When composing a message click on From to see what email addresses you can send as.

- If you don't see the account you want to mail from in the drop-down box and select Other E-Mail Address.

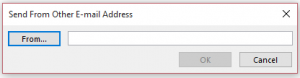
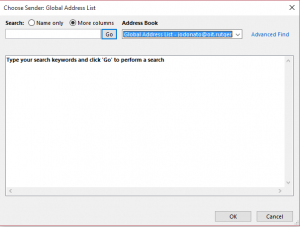
- Click on From... then find the user in the Global Address List.

Outlook Desktop App – Mac
1) By default, the From field will not be displayed when you compose a message. The From field will only be displayed after you set up a delegate for your account.
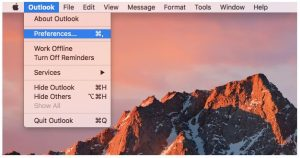
3) Select the Accounts option.
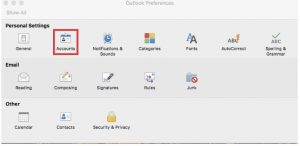
4) Select the Advanced button.
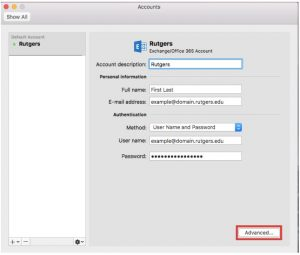
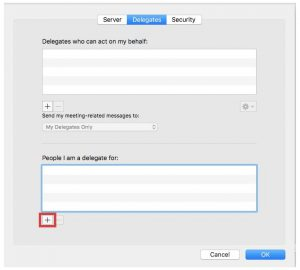
5) A new window will pop up that has three sections. Navigate to the center option labeled Delegates. On the bottom half of the pop-up, there will be a section titled People I am a delegate for. Select the “+” sign to add a new address that your account can send from.
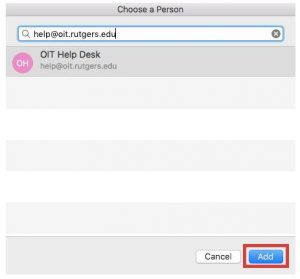
6) A new box will pop up. Search the directory to find the address you wish to send from. (If the address is hidden from the directory, you will be unable to set up your Outlook for Mac to be able to send from the address.) Hit the Add button.
7) The next time you compose a message the Alternate Email Address will be available in a drop-down menu located in the From field.